Techniques
How to Cut Butter into Flour for Scones: Techniques and Tips
Every good scone starts with a decision you make long before the dough sees an oven: how small to make the butter. Cut it in too far and you get something closer to a biscuit-shaped rock. Leave the pieces too big and the scones slump and spread. Get it right, and you're rewarded with layers that pull apart at the seam — tender inside, crackly on top.
There are three reliable ways to cut butter into flour, and none of them demands special equipment. Your hands, a food processor, or a box grater will all do the job. Here's how each one works, when to reach for it, and what "done" actually looks like.
Why the Size of the Butter Matters
Butter does its real work in the oven. Small pockets of cold fat sit inside the flour, and when the scones hit the heat, the water in the butter turns to steam. That steam pushes the layers of dough apart — that's flakiness. The fat also coats the flour proteins, which limits how much gluten forms, and less gluten means a tender, crumbly scone rather than a chewy one.
So the goal is pieces of butter roughly the size of small peas, each one coated in flour, with a few larger flakes scattered through. Uniformity isn't the point. A range of sizes gives you both tenderness and lift.
The Rubbing-In Method
This is the traditional approach and the one most bakers picture: fingertips, a bowl, a few minutes of quiet work. It gives you the most control because you can feel exactly when the mixture is ready.
- Start cold. Cube cold butter — straight from the fridge is fine, fifteen minutes in the freezer is better — and drop it into your flour. Toss to coat the pieces so they don't clump together.
- Use your fingertips, not your palms. Pick up a handful and rub it between your thumbs and fingertips, lifting your hands above the bowl as you go. The flour falls back in; the butter flattens and breaks apart on the way down.
- Work from the bottom of the bowl. Reach down, scoop up, rub, drop. Rotate the bowl every so often so nothing sits untouched at the edges.
- Stop early. You're done when the mixture looks like coarse breadcrumbs with a scattering of flattened flakes. If it starts looking like damp sand, you've gone too far.
Speed matters as much as technique. Warm hands melt butter, and melted butter can't steam. If the mixture starts to feel greasy, put the bowl in the freezer for ten minutes and pick up where you left off.
Keeping Your Hands Cool
Run your hands under cold water and dry them well before you start. On a hot day, hold your fingertips against a frozen bag of peas for a minute. A pastry blender — that curved wire tool — does the same job with no body heat at all. Use it to cut the butter in, then switch to your fingertips for the last few passes. However you do it, aim to finish in three or four minutes.
The Food Processor Method
When you want speed and consistency, the food processor wins. It also keeps your hands out of the mixture entirely, which helps in a warm kitchen.
Cut very cold butter into small cubes, scatter them over the flour in the bowl, and pulse in one-second bursts. Most recipes land between eight and twelve pulses. Stop and look after every three or four — the butter should be visible as distinct, pebbly pieces, not disappearing into the flour.
The danger is built into the machine. A food processor doesn't know when to quit, and a few seconds past "pebbly" turns the mixture into a paste that bakes up dense. If you're unsure, tip everything into a bowl and finish by hand. You can always break butter down further; you can't put it back.
The Grater Method
Freezing the butter and grating it is the trick to remember in summer, or any time your kitchen runs warm. Grated butter arrives already in small, flat shreds, which is exactly the shape you want: thin layers of fat, still cold, distributed evenly through the flour.
Freeze a whole stick for twenty to thirty minutes, then grate it on the large holes of a box grater directly into your flour. Toss gently with a fork to separate the shreds and coat them. From there, a few light passes with your fingertips are usually all you need — sometimes none at all.
Two small notes. Grate onto a sheet of parchment and lift it into the bowl if you'd rather not have shreds clinging to the counter. And a frozen stick is slick, so keep your knuckles clear of the holes.
Five Mistakes That Kill Flakiness
- Warm butter. Soft butter creams into the flour instead of staying in pieces. Everything that touches it — your hands, the bowl, the grater — should be cool.
- Overworking the mixture. Stop at coarse crumbs with visible flakes. Damp sand means the fat has been rubbed too fine.
- Pressing instead of lifting. Squeezing the mixture between your fingers smears the butter. Rub lightly and let gravity separate the pieces.
- Skipping the chill. Once the butter is cut in, fifteen minutes in the fridge before you add liquid makes a real difference.
- Leaving boulders. Pea-sized is fine; walnut-sized is not. You want flakes, not lumps.
How to Tell When It's Ready
Look first, then touch. The mixture should hold together if you squeeze a handful, then fall apart when you open your hand. Rub a pinch between your fingers: you want to feel cool, distinct flakes, not a slick coating. If it stays clumped like wet sand and won't crumble, the butter is too fine.
A quick test that works with any method: shake the bowl. Ready mixture shifts and separates like coarse crumbs. Past that point it moves in slow, heavy clumps.
Practice Beats Precision
Pick one method and use it three or four times with the same recipe. Rubbing in by hand teaches your fingertips what the right texture feels like. The food processor is faster once you know the look and sound of the right pulse count. The grater is your reliable backup on warm days. Once you can judge the butter by feel rather than by a timer, you can bake scones in any kitchen and get that layered, flaky crumb.
And if a batch comes out a little flat, make a note of what you did and try again next weekend. Butter is cheap, and the lesson is worth keeping.
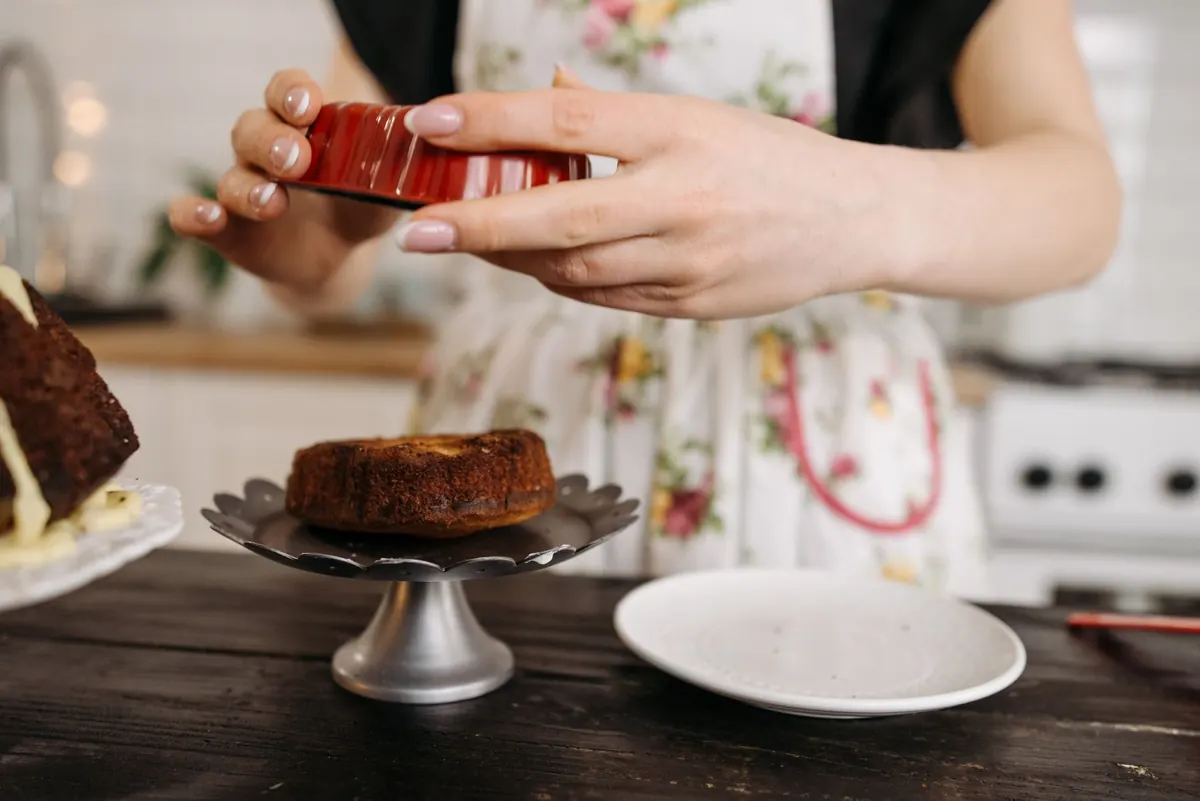
Photo: Felicity Tai / Pexels