Ingredients
The Role of Baking Powder in Scones (and How to Test Freshness)
You can start with cold butter, a light hand, and a recipe you trust, and still pull a tray of flat, heavy scones out of the oven. More often than not, the culprit is the little tin at the back of the cupboard. Baking powder is a small ingredient with an outsized job, and once it loses its punch, no amount of technique will save the batch.
Here's how it works, how much your dough actually needs, and a test that takes less time than preheating the oven.
What Baking Powder Does in a Scone
Baking powder is a complete leavening system in one tin: an alkaline ingredient, usually baking soda, a dry acid such as cream of tartar, and a small amount of starch to keep the two from reacting too early and to absorb moisture. The moment it meets liquid, acid and base dissolve and react, releasing carbon dioxide.
Those bubbles are the whole point. When you rub cold butter into flour and bring the dough together with milk or cream, you build a structure of gluten strands and starch. The gas from the baking powder gets trapped inside it. In the oven, heat expands those bubbles, the butter melts and adds steam, and the structure sets around the pockets. That's where the height, the split sides, and the tender, layered crumb come from.
It also helps to know that baking soda is not a straight swap. Baking soda is alkaline on its own and needs an acid — buttermilk, yogurt, sour cream, lemon — to do anything at all. Baking powder carries its own acid, which is why a scone recipe built on plain milk or cream still rises.
Single-Acting, Double-Acting, and What It Means for Your Dough
Single-acting baking powder reacts once, when it gets wet. Mix, shape, and bake in a hurry, because the gas starts leaving the moment the liquid goes in.
Most supermarket baking powder is double-acting. It reacts a first time at room temperature and a second time when the dough meets the heat of the oven. The practical benefit is breathing room: you can shape and cut your scones, brush the tops, and even rest the tray in the fridge for fifteen minutes to firm up the butter without losing all your lift.
That said, "double-acting" describes the chemistry, not the age of the tin. Old powder is old powder.
How Much Baking Powder Scones Actually Need
As a working rule, use 1 to 1½ teaspoons of baking powder per cup of all-purpose flour, which is roughly 120 to 125 grams. Most scone recipes land around 2 teaspoons for 2 cups of flour, and that's a safe place to start.
- 1 cup (120–125 g) flour: 1 to 1½ teaspoons
- 2 cups (250 g) flour: 2 to 2½ teaspoons
- 3 cups (375 g) flour: about 1 tablespoon
More is not better. Overdosing gives a soapy, metallic taste and a crumb that surges up and then collapses into coarse, tunnelled holes. If your scones taste bitter or leave a strange coating in your mouth, cut the baking powder back before you blame the butter or the oven.
Two habits matter as much as the number. First, whisk the baking powder through the dry ingredients before the butter goes in — a pocket of undissolved leavener produces a bitter spot and an uneven rise. Second, if you bake with self-raising flour, check the label. It already contains baking powder, usually around 1½ teaspoons per cup, so don't add the full amount again.
The Two-Minute Freshness Test
Baking powder quietly dies. Humidity, heat, and time all do it in, and the decline is gradual enough that you won't notice until a batch fails. The test uses things already in your kitchen.
- Spoon 1 teaspoon of baking powder into a small bowl or cup.
- Add about ¼ cup (60 ml) of hot tap water — hot enough to be uncomfortable on your finger, but not boiling.
- Stir once and watch. Fresh powder foams immediately and keeps fizzing for a minute or more, with plenty of visible bubbles.
- A quiet cup, or a few lazy bubbles that vanish in seconds, means the tin is spent. Replace it.
For baking soda, use vinegar or lemon juice instead of water, since it needs an acid to react. And be honest about what the test tells you: it confirms the powder still reacts, not that it's at full strength. If the fizz is weak or sluggish compared with a new tin, treat it as finished.
When the Leavening Isn't Working: Signs to Read
Watch for these, especially if a recipe you know well suddenly misbehaves:
- Scones that spread sideways instead of climbing, and come out pale and low.
- A tight, heavy crumb that feels more like shortbread than a scone.
- Dense, slightly doughy centers even when the outside is properly browned.
- A good rise in the oven that falls back before the timer goes off.
- Two batches from the same recipe, one tall and one flat, with a new tin of powder in between.
Texture problems can also come from warm butter, an overworked dough, or too much liquid, so rule those out too. But if the method was sound and the result was flat, the powder is the first suspect.
Storing It So It Stays Alive
Keep baking powder in an airtight container in a cool, dry cupboard — not above the stove, not on a sunny windowsill, and not in the fridge, where condensation forms every time the door opens. Because of the starch, it also picks up odors, so give it some distance from spices and onions.
Write the date you opened the tin on the lid. Plan to replace it after six to twelve months, sooner if you live somewhere humid. If it has clumped, sift it and look closely; if it has set hard, throw it out. A printed best-before date is a rough guide at best once the tin is open and breathing kitchen air.
Make the Test a Habit
It costs a teaspoon of powder and half a minute. Run the test before a batch you care about, and run it again any time a tray comes out flat for no clear reason. Baking powder is one of the cheapest things in your cupboard, and a failed batch costs far more: good butter, good cream, and an afternoon you don't get back.
Start with fresh powder, measure it properly, whisk it into the flour, and handle the dough lightly. Do those four things and you've solved most of what goes wrong with scones before the tray ever reaches the oven.
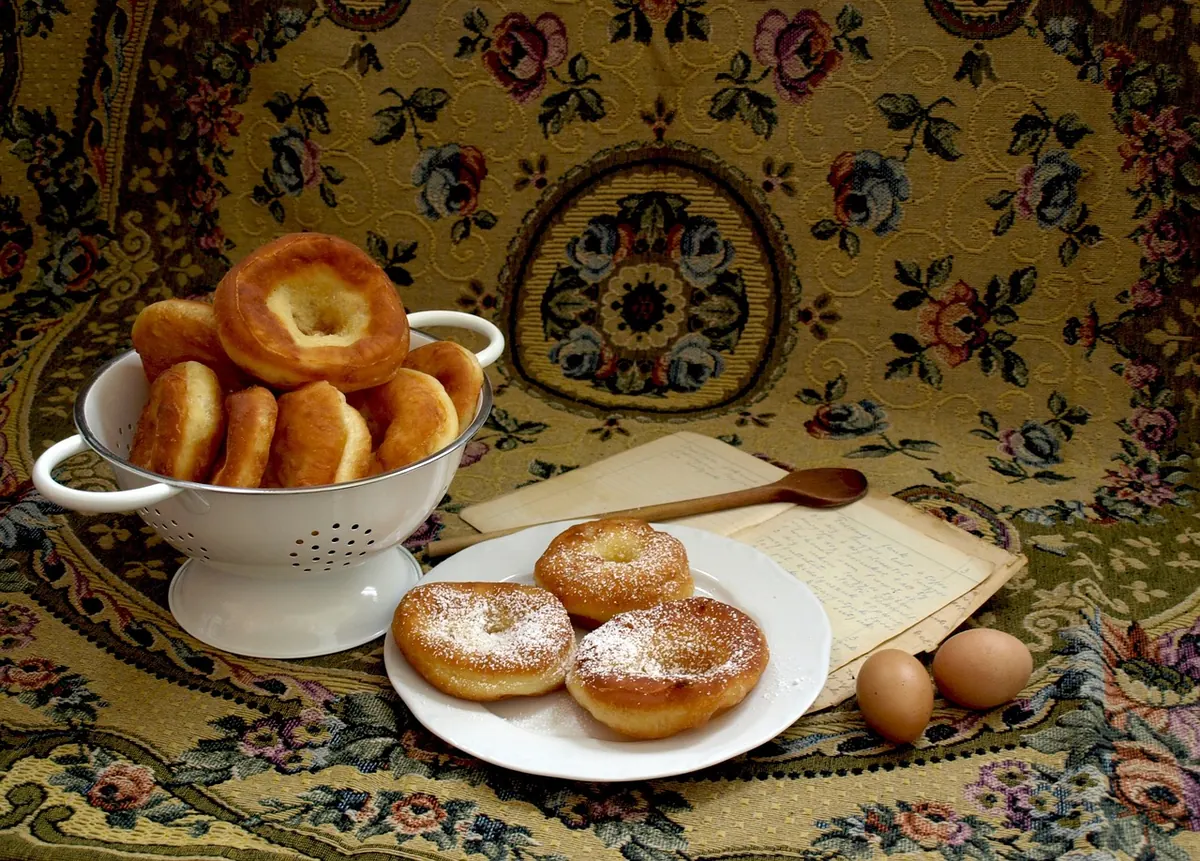
Photo: BakonyBalaton / Pixabay